
Warehouses
On this page you will find all the information on warehouses and loading zones in Stocadro. You will learn how to create, edit and delete warehouses and loading zones to organize your warehouse efficiently.
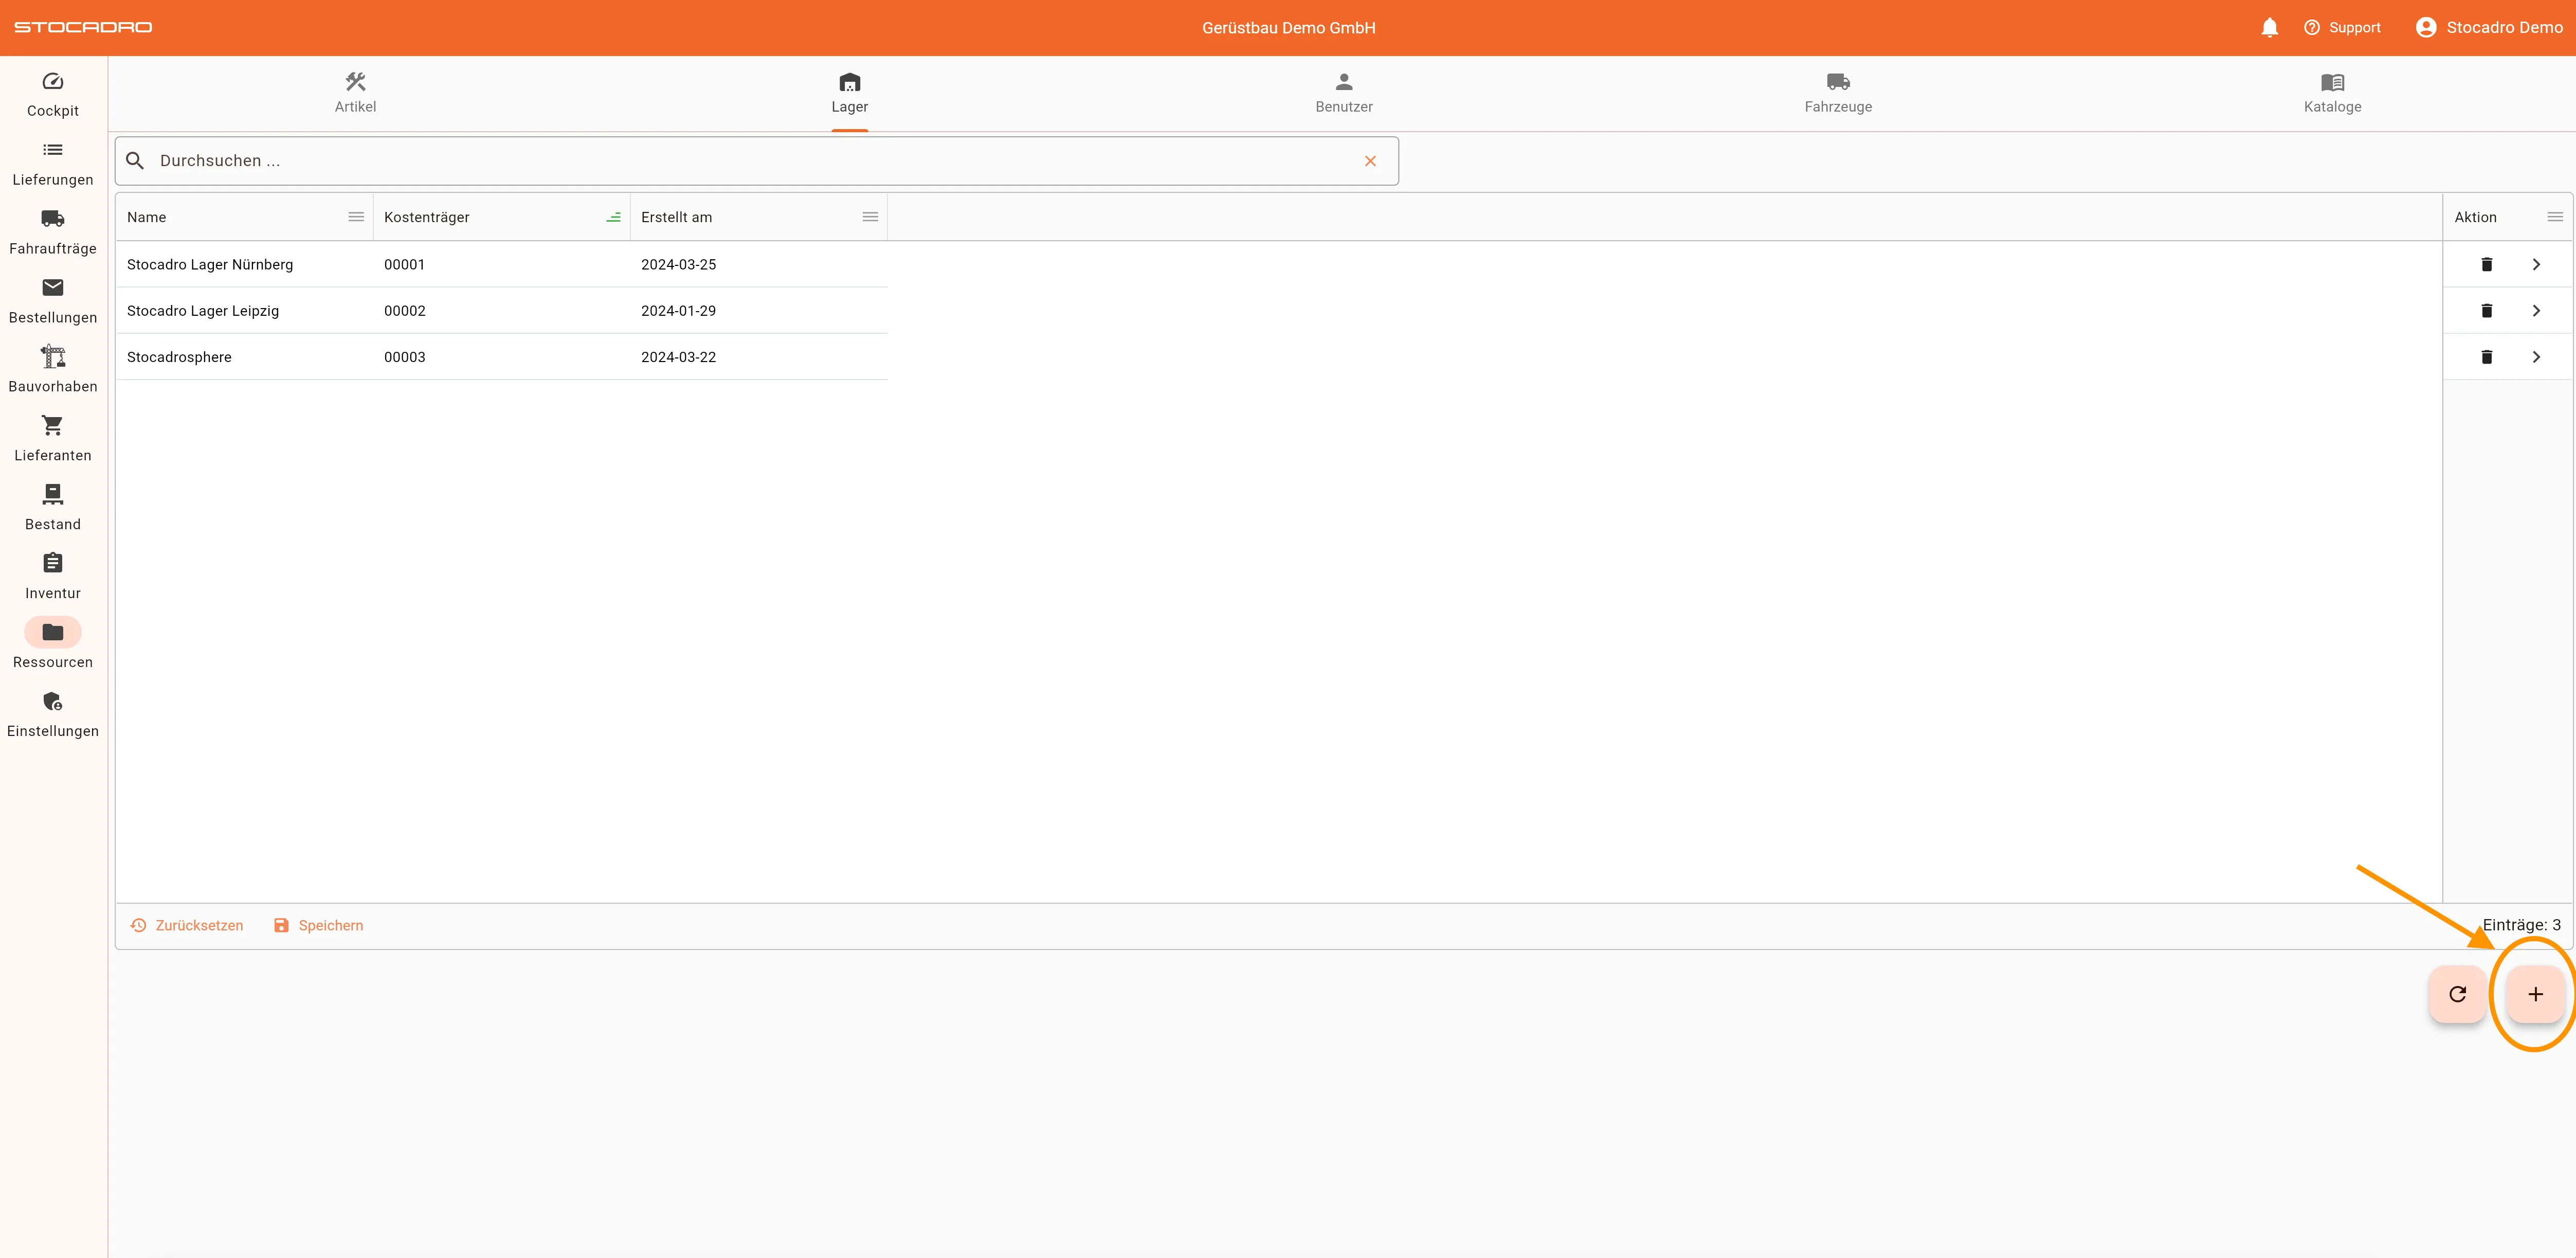
In the web app you will find warehouses under Resources.
Warehouses
Section titled “Warehouses”Creating a warehouse
Section titled “Creating a warehouse”You create a new warehouse by clicking the plus icon at the bottom right of the screen. For correct use in downstream processes, it is important that all relevant data is filled in completely and correctly.
You can define the following details for a warehouse:
- Name
- Cost center
- Street
- House number
- Postcode
- City
- Additional field
- Country
- Comment
Editing a warehouse
Section titled “Editing a warehouse”To edit an existing warehouse, click the arrow icon in the Action column in the row of the respective warehouse, or double-click the warehouse. This opens the detail view, where you can make changes to the individual fields. The changes are saved immediately.
Deleting a warehouse
Section titled “Deleting a warehouse”You can delete a warehouse by clicking the trash can icon in the Action column. Confirm the deletion to permanently remove the warehouse.
Loading zones
Section titled “Loading zones”Loading zones are fixed, defined areas within a warehouse. They are used to make material available or process it at specific locations, and can be assigned to delivery notes.
Examples of loading zones are:
- Picking areas
- Buffer or staging areas
- Specific parking spaces for goods outbound
Creating a loading zone
Section titled “Creating a loading zone”You create a new loading zone by either:
- double-clicking an existing warehouse, or
- clicking the arrow icon in the Action column.
This opens the detail page of the selected warehouse. There, click the plus icon at the bottom right to create a new loading zone.
You can define the following details for a loading zone:
- Name
- Direction (here you choose between incoming, outgoing or all)
- Comment (optional)
Editing a loading zone
Section titled “Editing a loading zone”You can edit an existing loading zone by clicking the arrow icon in the Action column, or by double-clicking the loading zone. This opens the detail view, where you can make changes to the individual fields. The changes are saved immediately.
Deleting a loading zone
Section titled “Deleting a loading zone”You can delete a loading zone by clicking the three-dot icon in the Action column and selecting Delete.
Generating a QR code for a loading zone
Section titled “Generating a QR code for a loading zone”So that a loading zone can be scanned during warehouse operations, you can generate a PDF document with a QR code for printing. To do this, click the three-dot icon in the Action column and select Generate PDF. The PDF document is then generated and saved.
Example document for loading zone 1.
Best practices
Section titled “Best practices”- Use clear, meaningful names for warehouses and loading zones.
- Maintain address and additional data completely to avoid errors.
- Assign loading zones to delivery notes deliberately to clearly document material movements.